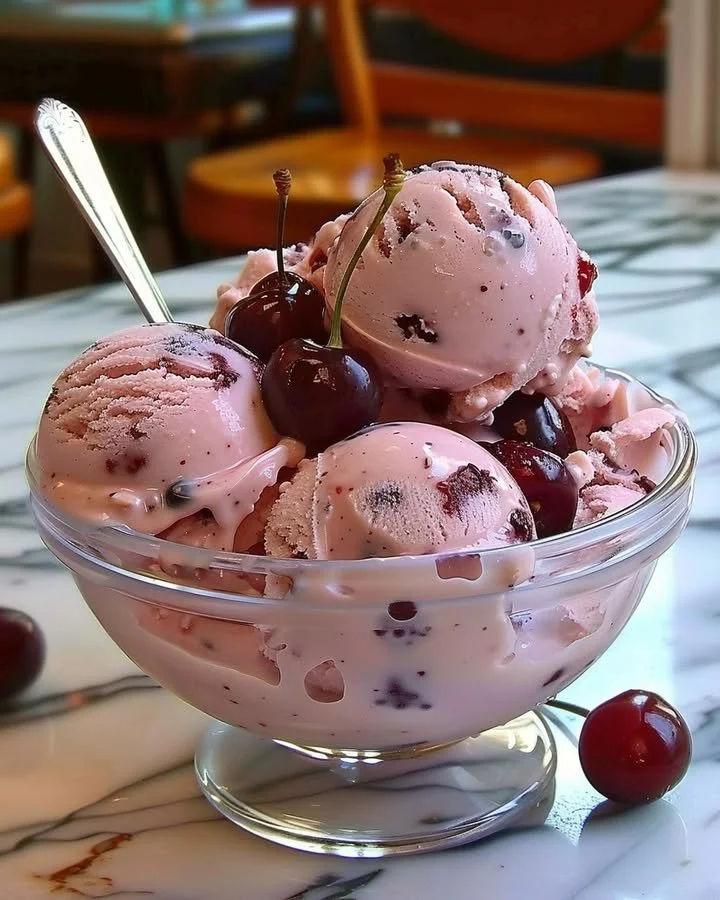
Homemade Cherry Ice Cream
Imagine a warm summer day, the sun casting its golden glow while you indulge in a bowl of luscious Homemade Cherry Ice Cream. The creamy texture melts on your tongue, delighting your senses with the essence of fresh cherries that burst with juicy sweetness. This recipe is truly a step-by-step journey into dessert heaven, inviting you to create a dreamy frozen treat that will leave your heart singing with joy.
A delightful treat that has graced tables for centuries, ice cream’s origins trace back to ancient China, where a mixture of milk and rice was packed in snow to create a chilled dessert. Over time, this evolved across different cultures, culminating in the ice cream we adore today. Cherries, known for their vibrant color and rich flavor, became a popular addition, complementing the creaminess of homemade frozen delights. The vibrant red hue of Cherry Ice Cream not only pleases the eyes but also serves as a delicious reminder of summer’s bounty.
Ingredients for this delectably creamy autumn sensation include:
- 2 cups heavy cream, rich and velvety
- 1 cup whole milk, smooth and nourishing
- 3/4 cup granulated sugar, sweet and uplifting
- 1 teaspoon vanilla extract, fragrant and aromatic
- 2 cups fresh cherries, pitted and chopped, tender and juicy
- 1 tablespoon lemon juice, zesty and refreshing
- 1/2 teaspoon almond extract (optional), nutty and delightful
- 1 tablespoon cornstarch (optional, for thickening), a silky touch
Crafting your Homemade Cherry Ice Cream can be achieved in two distinct ways. The quick method involves blending the ingredients and churning them right away, while the slow preparation allows for deeper flavors to develop. If you have a little extra time, opting for the slow method will enhance the taste of this cherry delight. To ensure success, use fresh, ripe cherries and allow your mixture to cool completely before churning—it makes a world of difference in texture and flavor.
Let’s get cooking! Begin by combining the heavy cream, whole milk, and sugar in a medium saucepan over medium heat. Stir periodically, taking in the sweet aroma wafting upward, until the sugar is fully dissolved and the mixture is comfortably warm. In a small bowl, mix the cornstarch with two tablespoons of milk to create a slurry. This step adds body to your ice cream, enhancing its creamy texture. Gradually whisk the slurry into the warm cream mixture, watching it thicken slightly, about five to seven minutes of gentle stirring. As you remove the saucepan from the heat, the delicious scents of vanilla and almond fill the air. Stir in the vanilla and almond extracts (if using).
While the cream mixture cools to room temperature, it’s time to prepare your cherries. In a separate bowl, toss the chopped cherries with lemon juice—a simple step that elevates their flavor and prevents browning. Once your cream mixture has cooled, pour it into an ice cream maker and churn it according to the manufacturer’s instructions. This is where the magic happens! The mixture transforms into a creamy base, waiting for the sweet cherry pieces to join the party. After churning, gently fold in the prepared cherries, ensuring they are evenly distributed throughout the ice cream.
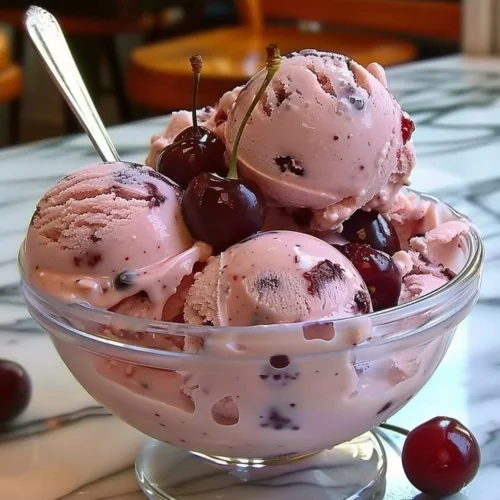
Now, transfer your cherry-infused creation to an airtight container and freeze it for a minimum of four hours, or until it reaches that perfect firm texture. Serve it up in bowls topped with fresh cherries, or perhaps a drizzle of chocolate sauce for those extra indulgent moments. Each scoop promises to be a delightful dance of flavors and textures, as the robust cherry mingles harmoniously with the sumptuous cream.
Homemade Cherry Ice Cream is not just dessert; it’s an experience—a way to celebrate warm afternoons and sweet moments with loved ones. Picture family gatherings, barbecues, or simply enjoying a quiet evening on the porch, each scoop bringing a smile to everyone’s face.
Beware, though—common mistakes include over-churning, which can lead to ice crystals and an unsatisfactory texture. Remember that patience is key! If you find yourself short on cherries, you can substitute them with other fruits like strawberries or peaches, creating your own delicious variations.
If you’re looking for healthier alternatives, consider using coconut milk for a dairy-free version or reducing the sugar for a lighter take. You can even experiment with adding a swirl of your favorite fruit puree for an extra burst of flavor.
FAQs about Homemade Cherry Ice Cream:
Can I use frozen cherries instead of fresh ones?
Yes, frozen cherries work well, but ensure they are well-drained before adding.Is it necessary to use cornstarch?
It adds thickness, but you can skip it for a lighter version.Can I make this ice cream without an ice cream maker?
Yes, transfer the mixture to a container and stir it every 30 minutes for about 2-3 hours.How long can I store Homemade Cherry Ice Cream?
It can be stored in the freezer for up to two weeks, although it’s best enjoyed fresh.Can I add other flavors?
Absolutely! You can incorporate chocolate bits, nuts, or even a touch of bittersweet cocoa for a chocolate-cherry version.What to do if the ice cream is too hard?
Let it sit at room temperature for a few minutes before scooping.
To wrap things up, Homemade Cherry Ice Cream combines the sweetness of summer with a creamy, dreamy texture perfect for any occasion. With just a handful of ingredients and a bit of love, you can craft a delightful dessert that beckons friends and family to gather around for a taste. Try making this luscious treat today, and let the flavors transport you to your happiest ice cream memories!
Homemade Cherry Ice Cream
Ingredients
Ice Cream Base
- 2 cups heavy cream Rich and velvety
- 1 cup whole milk Smooth and nourishing
- 3/4 cup granulated sugar Sweet and uplifting
- 1 teaspoon vanilla extract Fragrant and aromatic
- 1/2 teaspoon almond extract Optional, nutty and delightful
- 1 tablespoon cornstarch Optional, for thickening, a silky touch
Cherries
- 2 cups fresh cherries, pitted and chopped Tender and juicy
- 1 tablespoon lemon juice Zesty and refreshing
Instructions
Preparation of Ice Cream Base
- In a medium saucepan over medium heat, combine the heavy cream, whole milk, and sugar. Stir periodically until the sugar is fully dissolved and the mixture is comfortably warm.
- In a small bowl, mix the cornstarch with two tablespoons of milk to create a slurry. Gradually whisk the slurry into the warm cream mixture while stirring gently. Allow it to thicken slightly for about five to seven minutes.
- Remove the saucepan from heat and stir in the vanilla and almond extracts (if using).
Cherries Preparation
- In a separate bowl, toss the chopped cherries with lemon juice.
Churning Ice Cream
- Allow the cream mixture to cool to room temperature, then pour it into an ice cream maker and churn according to the manufacturer’s instructions.
- After churning, gently fold in the prepared cherries, ensuring they are evenly distributed.
Freezing
- Transfer the mixture to an airtight container and freeze for a minimum of four hours or until it reaches a firm texture.
- Serve in bowls topped with fresh cherries or a drizzle of chocolate sauce.