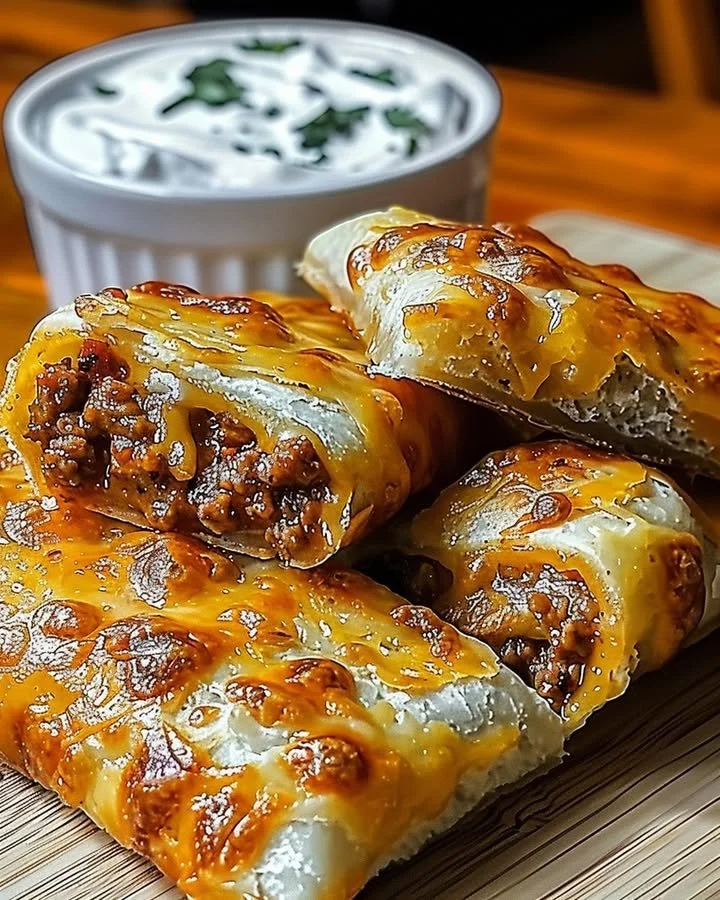
Cheesy Taco Sticks
Imagine biting into a warm, crispy crescent roll packed with a savory blend of seasoned meat, gooey cheese, and vibrant flavors that dance across your palate. This is the essence of Cheesy Taco Sticks, a delightful recipe that not only offers a step-by-step guide to create a mouthwatering dish but also evokes the comforting aromas of a kitchen filled with the rich scents of taco night. Whether it’s a cozy family evening or a lively gathering with friends, this recipe guarantees to elicit smiles and create memorable moments.
History / Fun Fact
Taco Night is a cherished tradition in many households, but did you know that the taco itself has roots dating back to the 18th century? Originating in Mexico, tacos have evolved from simple tortillas filled with various ingredients to an internationally loved meal, inspiring countless variations. The Cheesy Taco Stick is a delightful fusion of American and Mexican cuisines. By wrapping seasoned meat and cheese in crescent dough, it transforms this traditional dish into a finger-food favorite that resonates with all ages, making it an ideal choice for game days, birthday parties, or family dinners.
Ingredients
For this tantalizing dish, you’ll need an array of ingredients that awaken the senses. Start with a can of Pillsbury refrigerated crescent rolls, perfectly tender and flaky, ready to wrap around a hearty filling. Choose 1 pound of ground beef or lean turkey; either option will provide you with rich, savory flavor. Enhance the taste with a packet of taco seasoning, bursting with aromatic spices that elevate your filling. Add a cup of shredded cheese—whether it’s sharp cheddar or a zesty Mexican blend—this melty goodness will be the heart of the dish. For added flavor, consider ½ cup of salsa, incorporating fresh, tangy tomatoes and spices. Optional ingredients like ¼ cup of sliced black olives lend a briny touch, while chopped green onions not only garnish but also lend a fresh crunch. Don’t forget your cooking spray for easy cleanup!
Cooking Time & Tips for Cheesy Taco Sticks
The beauty of Cheesy Taco Sticks is their versatility in preparation time. For a quick fix, you can have these ready in about 30 minutes, satisfying your cravings without keeping you in the kitchen for long. On the other hand, if you’re looking for a slow, savory experience, allow extra time for marinating the meat or preparing homemade salsa. Ensure all your ingredients are prepped and within reach for a smooth cooking process. For success every time, remember to keep an eye on the oven to prevent over-browning and serve these sticks hot to enjoy the gooey cheese.
Step-by-Step Directions
Begin your culinary journey by preheating your oven to 375°F (190°C). The warm air will soon fill your kitchen with the inviting aroma of baked goods. Grease a baking sheet with cooking spray to prevent sticking as you create your delicious treats. In a skillet over medium heat, add your ground beef or turkey, watching it sizzle and brown beautifully; this will take approximately 5-7 minutes. As you cook, drain any excess fat, then mix in the taco seasoning and salsa, letting this simmer together for 2-3 minutes until it becomes a rich, flavorful filling.
Next, unroll your crescent roll dough onto a clean surface, separating it into triangles. Place a generous spoonful of your taco meat mixture on the wide end of each triangle, followed by a sprinkle of shredded cheese, and if desired, a few black olives for added taste. Roll these delightful bundles starting from the wide end, tucking them snugly to retain the delicious filling. Place the rolled sticks seam-side down on your prepared baking sheet, and bake for 12-15 minutes, or until they turn a golden brown. The anticipation will build as the aroma envelopes your kitchen! Once baked, let them cool slightly, and don’t forget to garnish with fresh green onions before serving. Enjoy these cheesy delights with additional salsa on the side for dipping!
Serving Suggestions & Occasions
Cheesy Taco Sticks are the ultimate crowd-pleaser and can be enjoyed in various settings. Perfect for casual family dinners, movie nights, or as appetizers at parties, they provide a fun and engaging dining experience. Pair them with fresh guacamole or a tangy salad to add a refreshing contrast to the warm, cheesy sticks. These snacks are also ideal for game day, bringing friends and family together over shared laughter and the delightful crunch of each bite.
Common Mistakes for Cheesy Taco Sticks
One common mistake is overfilling the crescent roll triangles; if you pack too much filling, the sticks may burst open in the oven, leading to a messy outcome. Another is not sealing the edges well; a tight roll ensures that the filling stays tucked inside, creating a neat presentation. Lastly, forgetting to preheat the oven can lead to uneven baking, so always begin by setting the perfect temperature!
Healthier Alternatives & Variations
For a healthier twist on Cheesy Taco Sticks, consider using lean ground chicken or plant-based alternatives. You can pack these sticks with diced vegetables like bell peppers or zucchini to increase the nutritional value. Instead of crescent rolls, opt for whole wheat tortillas for a clever wrap, or experiment with phyllo dough for a light, flaky version. You can also switch the cheese for a dairy-free option to cater to those with dietary restrictions while still enjoying a cheesy flavor.
FAQs
Can I use a different type of meat?
Absolutely! Ground turkey, chicken, or even plant-based meats work perfectly in this recipe.Are there any gluten-free options for crescent rolls?
Yes, check your local grocery store for gluten-free crescent roll alternatives or use gluten-free tortillas.How do I store leftover Cheesy Taco Sticks?
Store them in an airtight container in the refrigerator for up to 3 days. Reheat in the oven or microwave before serving.Can I freeze the Cheesy Taco Sticks?
Yes! You can freeze them before baking. Just wrap them tightly in plastic wrap and place them in a freezer-safe bag for up to 2 months. Bake them directly from frozen, adding a few extra minutes to the cooking time.What can I serve with Cheesy Taco Sticks?
These are great with salsa, guacamole, or a fresh salad. You could also pair them with any dipping sauce you enjoy.Can I make them vegetarian?
Certainly! You can replace the meat with a mix of black beans, lentils, or your favorite vegetables.
Conclusion
Now that you’ve discovered the delightful Cheesy Taco Sticks, it’s time to bring this savory recipe into your kitchen. The combination of flaky dough, seasoned filling, and melted cheese is truly irresistible, promising to become a favorite among your family and friends. So roll up those sleeves, gather your ingredients, and enjoy this culinary adventure—each bite will transport you to a world of flavors and warmth. Don’t wait; try this recipe immediately for an unforgettable dining experience!
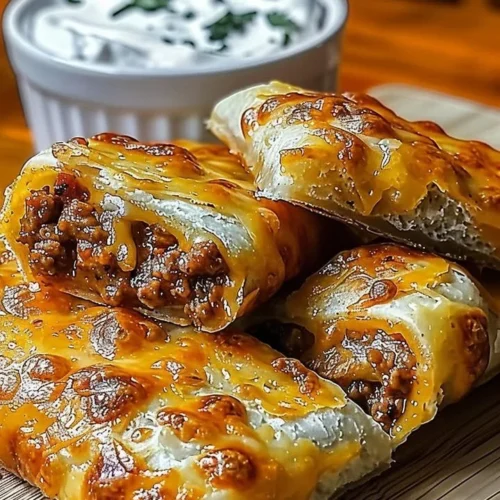
Cheesy Taco Sticks
Ingredients
Dough and Filling
- 1 can Pillsbury refrigerated crescent rolls Tender and flaky, perfect for wrapping.
- 1 pound ground beef or lean turkey Rich, savory flavor.
- 1 packet taco seasoning Bursting with aromatic spices.
- 1 cup shredded cheese Can be sharp cheddar or a zesty Mexican blend.
- ½ cup salsa Incorporates fresh, tangy tomatoes and spices.
- ¼ cup sliced black olives Optional for added flavor.
- null null chopped green onions For garnish.
- null null cooking spray For greasing the baking sheet.
Instructions
Preparation
- Preheat your oven to 375°F (190°C).
- Grease a baking sheet with cooking spray.
- In a skillet over medium heat, add ground beef or turkey and cook for 5-7 minutes until browned.
- Drain excess fat, then mix in taco seasoning and salsa; simmer for 2-3 minutes.
- Unroll crescent roll dough on a clean surface, separating into triangles.
- Place a spoonful of taco meat mixture on the wide end of each triangle, top with cheese and black olives if desired.
- Roll the triangles from the wide end, tucking in the filling.
- Place the rolled sticks seam-side down on the prepared baking sheet.
Baking
- Bake for 12-15 minutes until golden brown.
- Let cool slightly and garnish with green onions before serving.